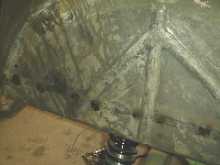
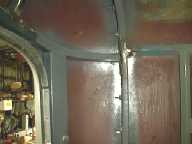
The rear section of the body was attached to the floor frame by drilling holes in the wheel well area and MIG welding (dark spots in picture) through to the floor frame.
Additional bracing was done inside as part of steel out.
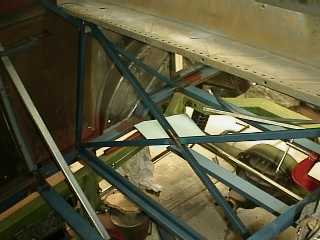
Here is the RH side of the body (loking to the rear of the body) with the cross frame visible and tied into the tube around the bottom of the side window which runs from the rear window area to the door "B" pillar.
Below is the upper tube which runs from the rear window and around the top of the side window and on to the windscreen area, travelling over the door opening.

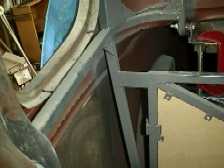
Here is the cross braced frame, behind the seats. It tilts back a little to give maximum seat clearance. The original parcel shelf is to be retained, but will be narrowed to give more seat clearance. The fuel tank will mount behind here, also. The clamps were removed as the steel out progressed.
The side tubing was bent (with oxy on sharp curves) to follow the contour of the body and welded to the rear window panel joint and welded to the top of the door pillar. Another similar shaped piece runs parallel, below the side window and ties into the door pillar. A vertical connecting piece was added for the top seat belt mount. The bracing frame above is connected to the lower piece also. See steelout below for more.
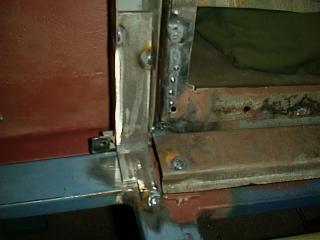
This is how I have attached the centre pillar to the floor frame. I bent a piece of steel bar about 5mm thick to a similar angle as the door pillar is to the floor, then tack welded it in as you can see. The door pillar is a "U" shaped pressing with the open side of the "U" facing inwards. When all is finalized, I will weld it fully.
You can see a little of the door repairs here also.
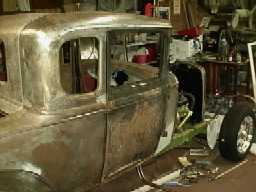
There's nothing set in stone on how to do this, so I basically followed the old timber locations, plus added steel across the body behind the seats, to brace it more sideways as well. This is the primary method to stiffen the body shell.
April 29th, 2000. I started the process by making the cross braced rectangular frame from 3/4" (19mm) square tube, which will be welded to the floor, just behind the seats. The tubing in the side panels will then tie into this frame, which forms the core of my "steeling out".