A mechanical concept for PICASTAR ?
Last updated on December 15, 2008
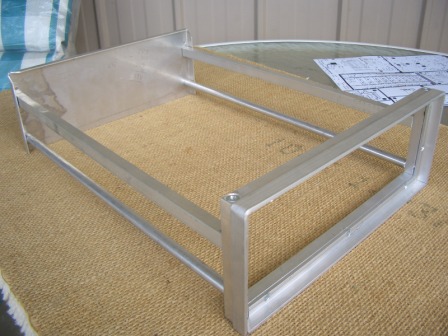
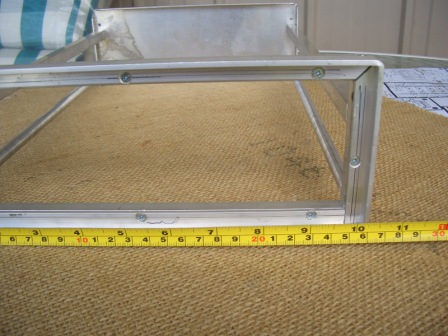
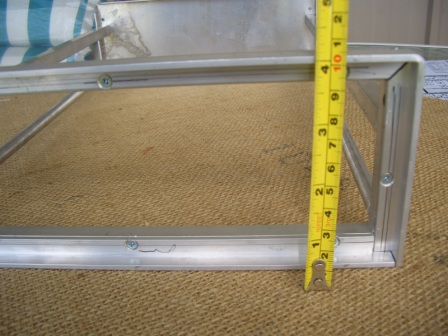
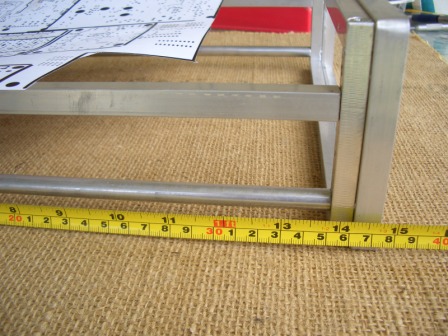
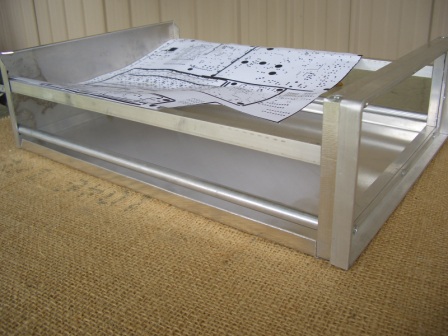
I made a case from standard aluminium extrusions, screwed together. The length is a little long here as the thinking is to eventually reduce it to suit the final layout. Its easy to do, by shortening the side rails and re-tapping them. The side rails are held together with 4mm machine screws, mostly countersunk head type.
Case is about 260mm wide by 100mm high and currently 360mm deep. Side bars are 12x10mm square bar and 10mm rod. Front is backed by 12x10mm bar and a lip is formed around the front, for the front panel to sit into, with 12x12 x3mm angle. All are tapped and screwed together.
Bottom is 1.2mm sheet aluminium with 10mm edges turned up and top will be an inverted "U" that fastens into the bottom and also the front and rear panels.
This is just a general idea on a home made case. Some tools are required for this approach though.
The sizes quoted may NOT suit your applications !
(there is some distortion due to the camera)
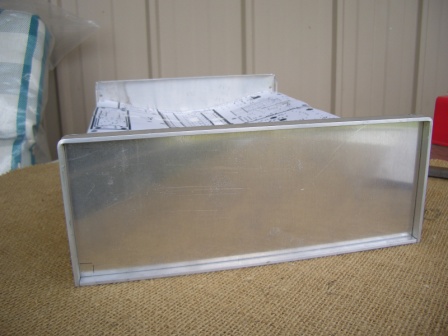
Front panel inserted. It will be held by 4 screws, tapped into the frame. There will also be a panel behind it, to fasten the PnM etc to. That then allows the "cover" panel to be fitted with only 4 screws in the corners for a "nicer" look.
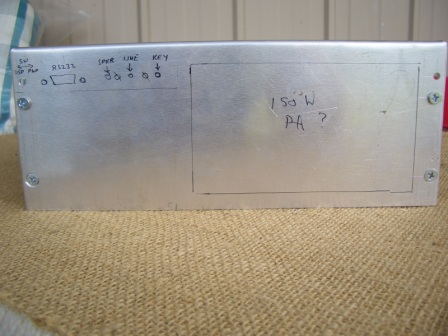
Underneath, for possible inclusion of the PA's and LPF boards, with a fan.
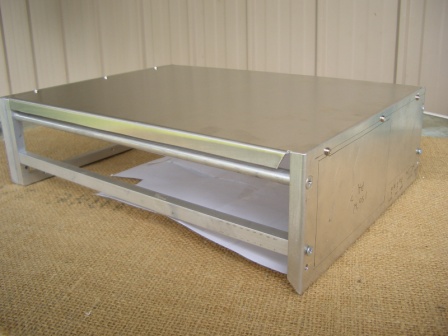
The bottom cover has a 10mm lip on three sides. Rear lip fastens to the rear panel. Top cover fits over and will fasten to the lip also. I will be using tapped inserts or riv-nuts for that job.
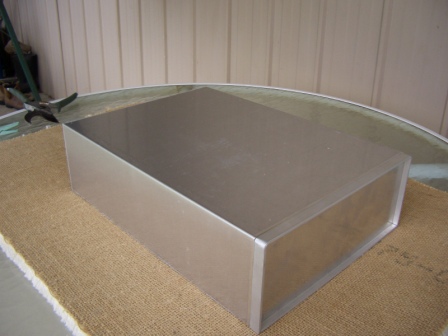 Top cover fitted. Will be fastened with M3 screws on the bottom edge and across
the top, front and rear. Should be fairly "RF proof".
Top cover fitted. Will be fastened with M3 screws on the bottom edge and across
the top, front and rear. Should be fairly "RF proof".
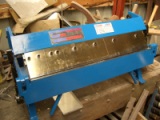 I have this 400mm wide capacity Panbrake of Chinese origin for bending the covers.
Cover are 1.2mm aluminium. Lacking a folder like this, similar results can be
achieved using flat sheet with light gauge angle aluminium extrusion for the
corners.
I have this 400mm wide capacity Panbrake of Chinese origin for bending the covers.
Cover are 1.2mm aluminium. Lacking a folder like this, similar results can be
achieved using flat sheet with light gauge angle aluminium extrusion for the
corners.
Created on 15th DEC, 2008 by VK3PE