Combo PICaSTAR shielding
Page created on 14th Feb and last updated on February 17, 2010 See Dan Rae's solution also below:
Wondering how to make the shields for your Combo PICASTAR? Are you able to cut wood with a handsaw, reasonable accurately?
Then, here is a way to do it, if you don't have metal folding equipment.
First, measure up the size of the shields. The best way to make them is to make the top cover first, then the partitions. Measure up with an allowance for the shield cover to be slighty larger as this method has the covers fitting over the partitions.
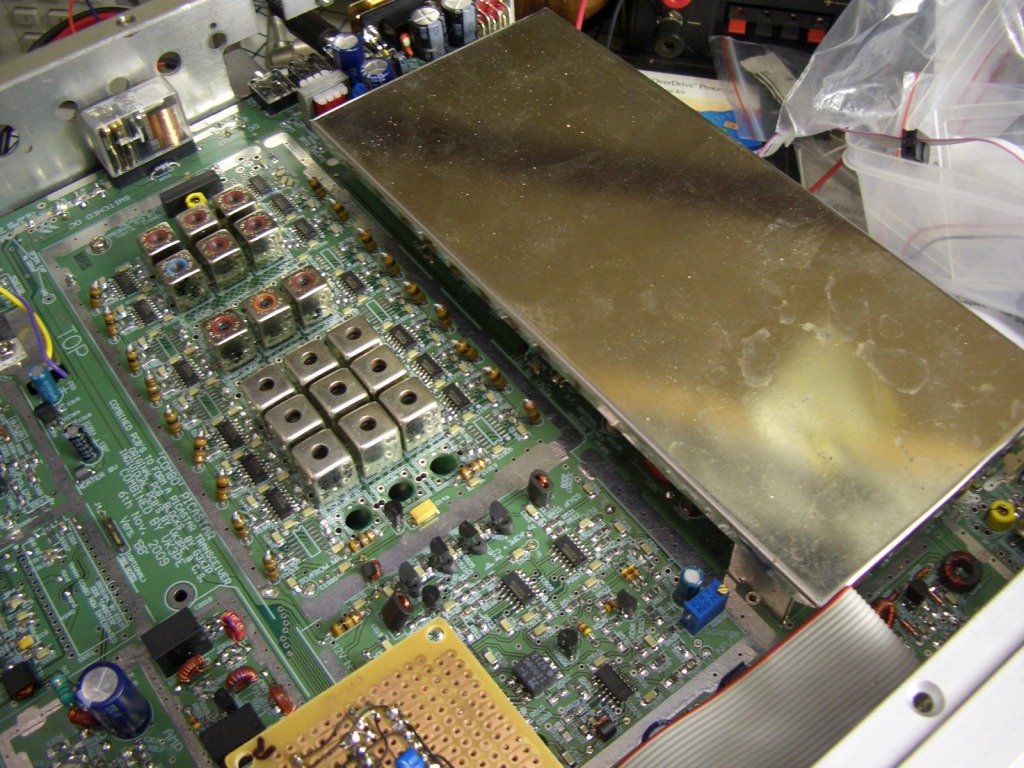
In my (vk3pe) Combo, I made one long shield cover for the DSP and IF section. Internally, there will be partitions. (You can elect to do separate covers for each section but if you do this, then you need to allow a small space in between adjacent sections, for the covers to fit.) Then separate covers for the BPF and MR sections. Finally, the DDS area's. Once the covers are made, the shield walls can be cut and bent to suit the cover size. Use two "L" shapes for the sides. If you do it the other way round, it might be a little more difficult. Up to you to decide. Make sure you allow space between the shielded areas for the covers to fit as they are larger than the actual partitions, being fitted over them.
All pictures can be clicked for larger size.
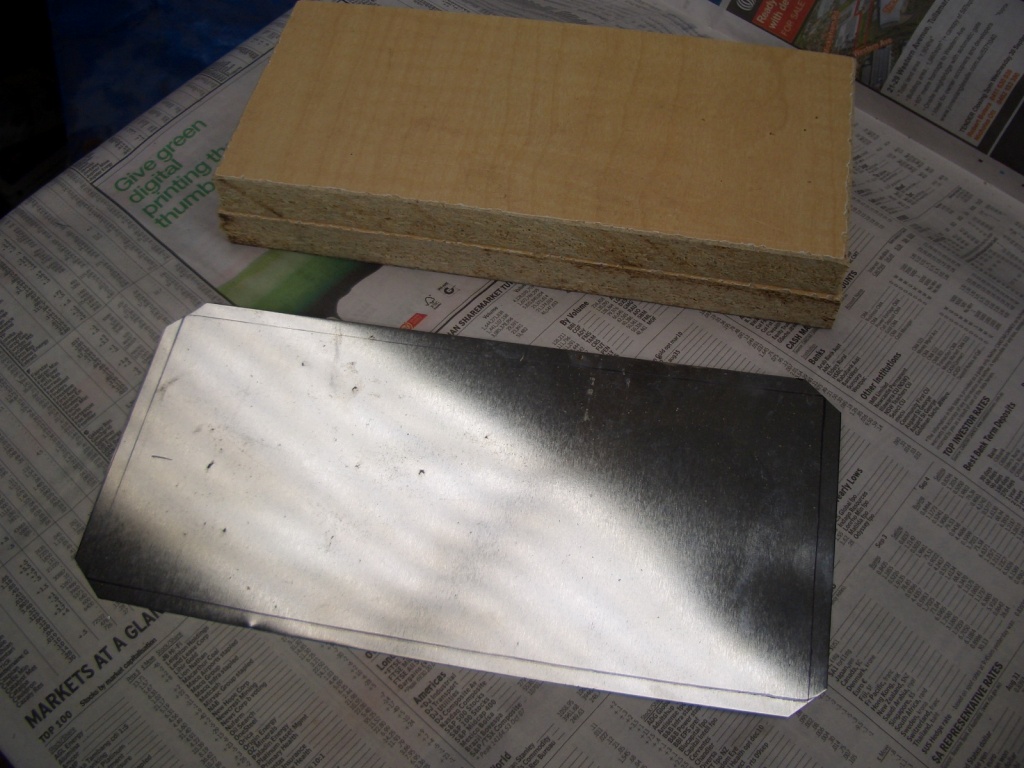
Once the sizes have been determined from the PCB (internal dimension of covers) then a piece of MDF or similar wood is cut to the EXACT size. This is the template and you should try to have very straight lines when cutting the pieces out and right angled corners. You can use a wood plane to true the template up afterwards if needed. If you have a table saw with a guide, then it is even easier to make the templates. Lacking that, I used a hand held wood saw. Then, a second slightly smaller piece is cut. About 3mm overall. This one does not need to be super accurate. Sandpaper the edges lightly to remove any roughness.
Place the template piece over the tinplate or brass or copper stock that you are using (I used 0.4mm tin-plate) and mark around the edges with a fine felt tipped pen. It's a good idea to also add marks to the material and the template so you know which way round is correct in case of minor errors. Remove the template and mark out a new line for the perimeter about 5mm outwards. This is what I used, a little less would be OK also. This will be the section folded down. Trim the material to the outer line with tin snips or even a heavy pair of scissors. Also, cut the corners at 45 degrees to be just inside the first template marks to avoid 'crinkling' at the corners when the bend is made.
Now, carefully clamp the template to the material with the material sandwiched in between the two pieces of wood. < below> Make sure the template piece aligns with the markings.
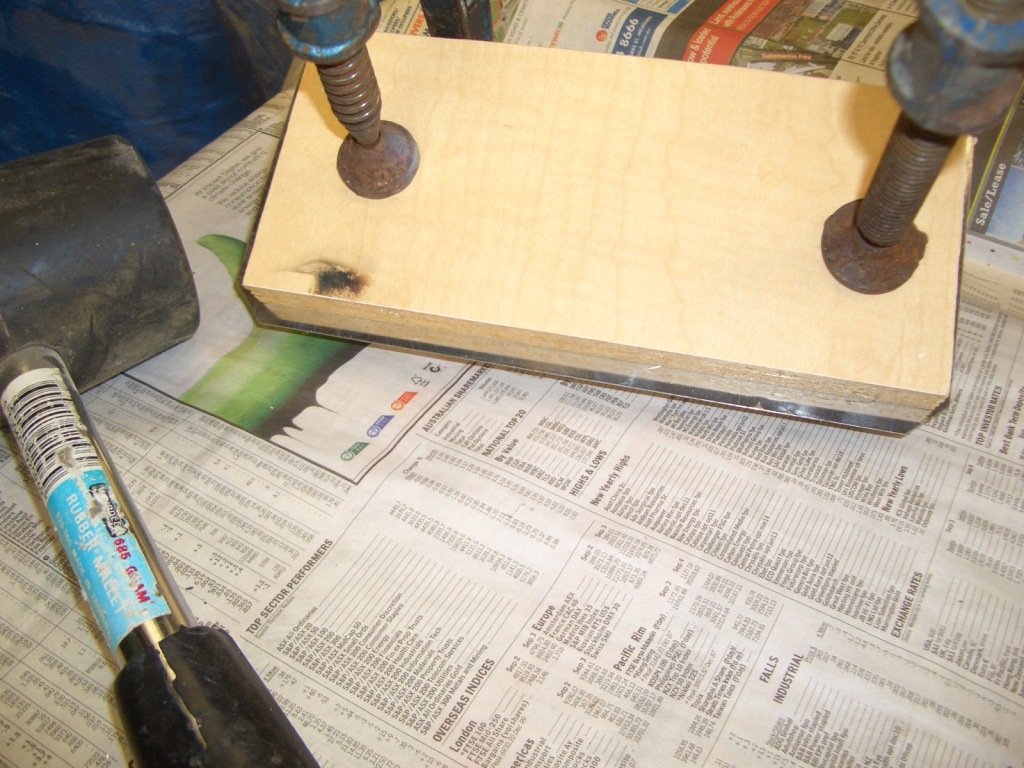
Now is the time to double check alignment and reset if needed. Using a rubber or wooden mallet (not a steel hammer as it will stretch the material) slowly fold over the 5mm edge onto the sides of the template. Do NOT fold small sections over completely, move along the edge slowly or you will stretch the material.

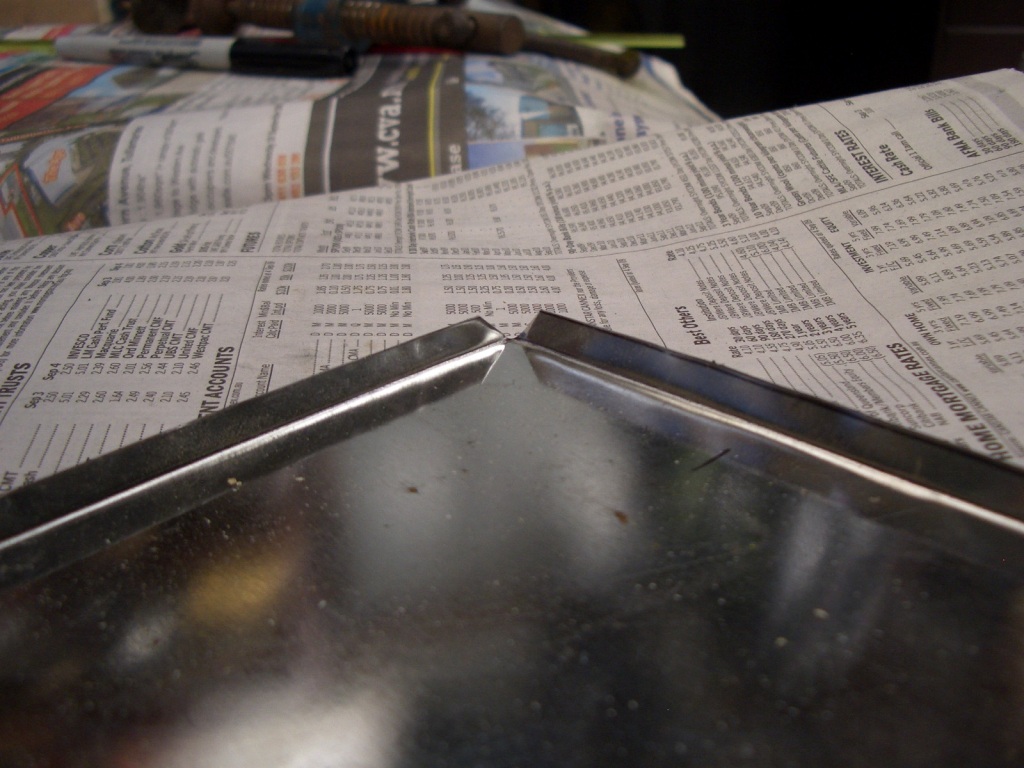
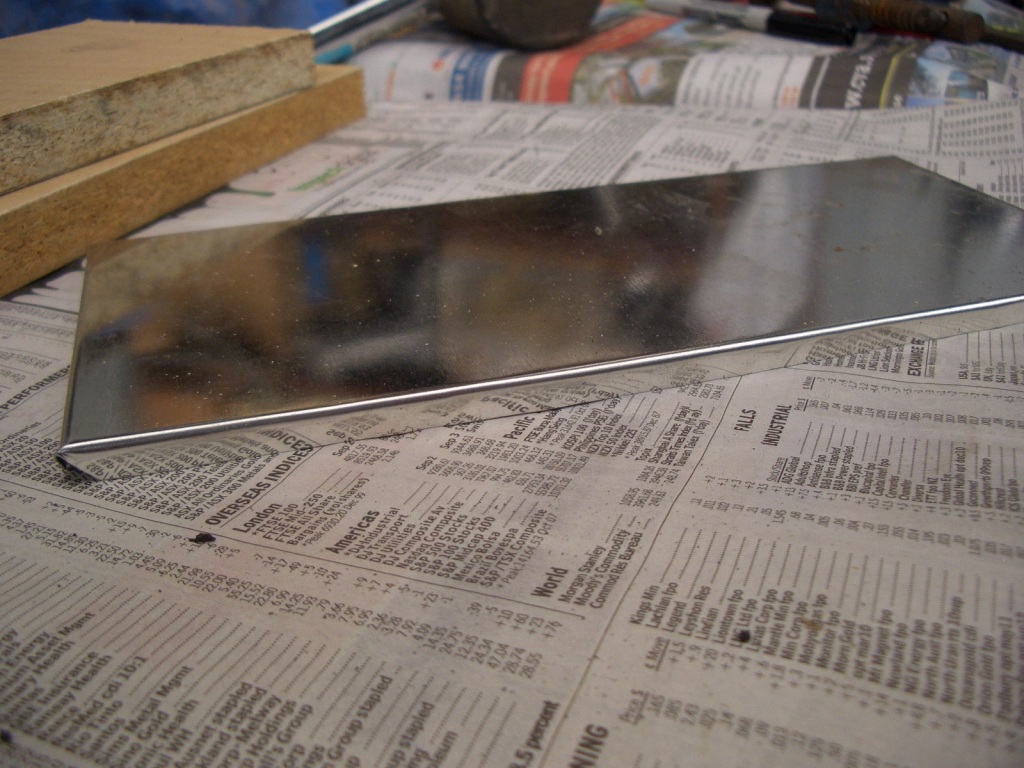
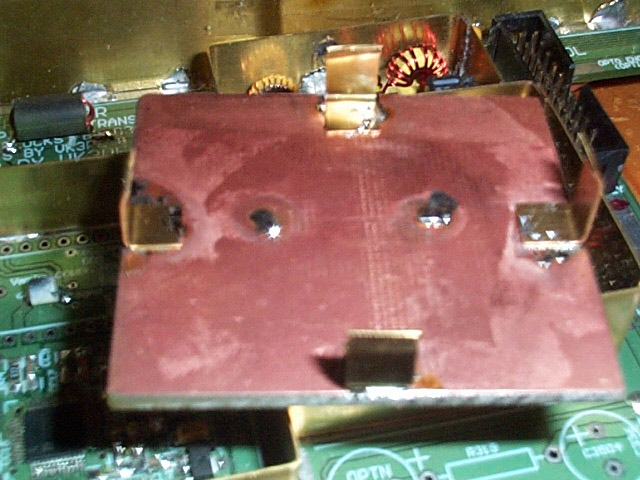
Remove the wood templates and you have a nice top cover! <above> All that remains to be made are the walls of the shielded area.

The walls of the shield are strips of suitable height cut out and fitted to the inside of the new cover as a guide for dimensions. Then tack onto the Combo PCB in a few spots and try the cover on. Adjust as needed until happy with the fit. Resist the temptation to seam solder the whole edge until the fit is good. In fact, only tack the partitions in place until the PICaSTAR build is completed. NOTE that in some areas, when fitting the partitions, some clearance will need to be allowed for on the bottom edge, to clear tracks, pads or components. A hand held 'hobby' notching tool is handy for this. Or a selection of round and square files can be used. Remember to remove any burrs from the operation though. You may need to carefully bend the top cover edges a little more, to provide a firm 'grip' on the partitions.
 Walls or partitions not fitted here yet!
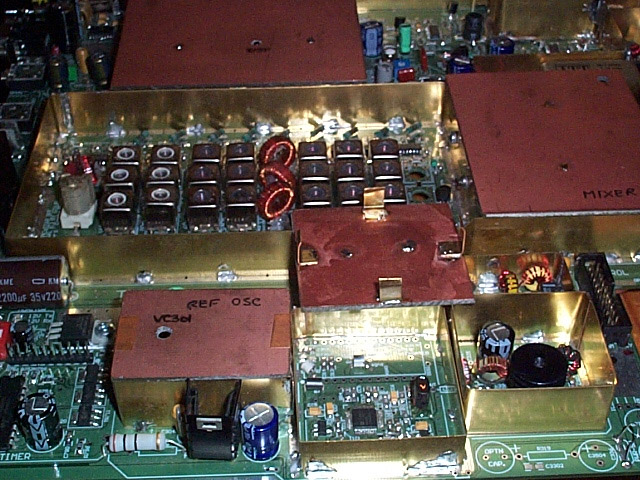
This same method can also be used to make the bottom shields. The only variation is that the corners are best cut as square 'notches' instead of angled. In some areas, the same templates can be used as for the top.
Don't need shields for STAR?
But you want to make a shielded box similar to those you can buy commercially that have edge strip and two 'covers'. Just make two covers as described above with one template cut to desired size, then cut the internal edge strips. Solder the bottom one on and you have a shielded box!
Hi Glenn,
Another way of making covers for the mechanically challenged among us that can
be used with brass, tinplate or PC board shield compartment walls. Underneath,
I'm not so sure about though, they will have to be in my case made in brass
sheet, more or less permanently soldered in place where necessary.
73, Dan
Back to:
Combo AA (proto "Combo")
vk3pe